Here is the discussion forum for this part of the course. Please either post your comments/observations/questions or share your creations.
Here are some suggested topics for discussion and optional projects:
SUGGESTED TOPICs
- What additional content would you like to see in this part of the course?
- Did you notice we gave you (without saying) a small particle engine during Week 1? This is very useful for simulating explosions or bullet impacts…
OPTIONAL PROJECTS: create a game of your own!
- At the end of the course, we created a small but fully-functional game. Try to make your own game, either by modifying/completing the given example (change the scenario, add levels, colors, sound effects, sprites, shots, etc.) or by writing your own using the methods explained in the course. To inspire you, here are some examples written by Michel’s students. Some of them are based on the framework presented in the course.
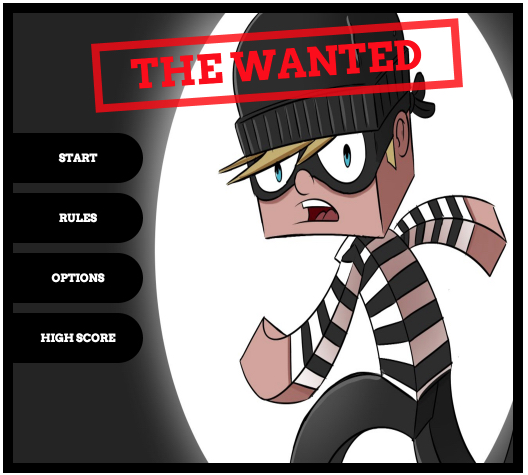
And please share your creations in the forum!!! - The Wanted: escape the Police and steal as many gold coins as you can! This game did not really follow the game framework presented in the course, but the final game is fun and is an interesting variation on examples presented in the course.

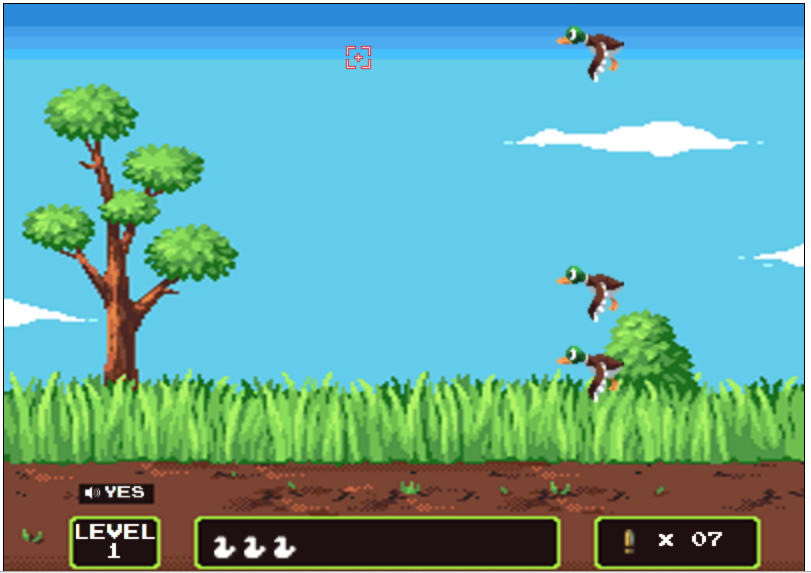
- Duck Hunt (author: Benjamin Reale and Anthony Caron). Get the whole game at this GitHub link + just grab the sprite sheet and sounds in this archive and try to make the game yourself (500k). This one started with the game framework presented in the course.
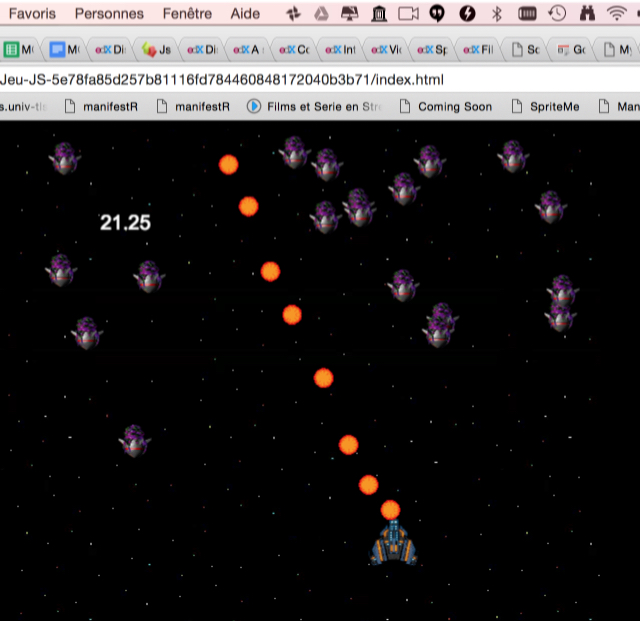
- Shoot em up by Max Chazarra (sources on the GitHub site). This one started with the game framework presented in the course:
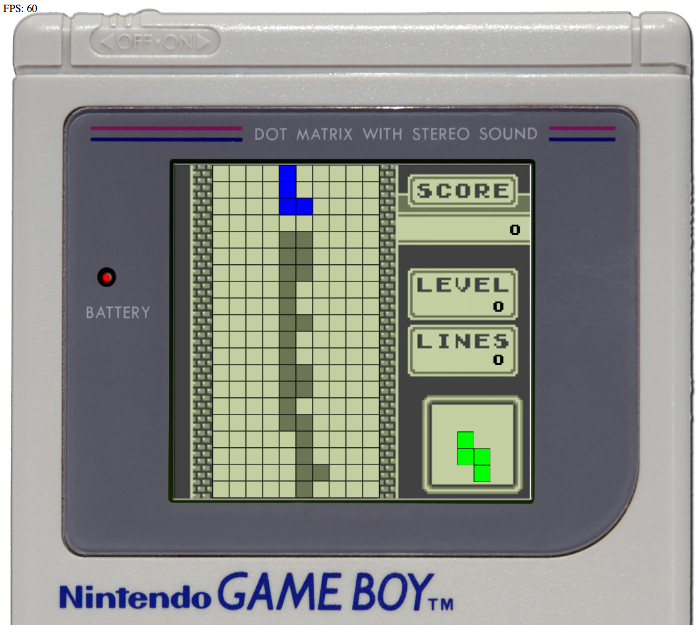
- Gameboy Tetris (written starting from the game framework presented in the course). Download the sources (author Maxime Demetrio)
- A small “kill the ninjas” game by Tristan Poilvet. This game used the game framework presented in the course as a starting point. Sources available here.

Discussion
Topic: Week 2 / Game statesHide DiscussionAdd a Post All PostsReturn to all posts
- Vote for this post, there are currently 0 votes
- Follow
PacMan instead of Monster
discussion posted 2 months ago by Doncorleone77
Hello – I made a PacMan instead of a Monster:
   var drawMyPacMan = function (x, y) {
    context.save();

    context.translate(x, y);
    context.scale(0.5, 0.5);

    context.beginPath();

    var startAngle1 = 0;
    var endAngle1 = 2 * Math.PI;
    var startAngle2 = 0;
    var endAngle2 = 0;

    var antiClockwise = pacMan.speedX < 0 || pacMan.speedY < 0;

    if (Math.round(currentLevelTime/100) % 2) {
        if (pacMan.speedX > 0) {
            startAngle1 = (2 * Math.PI) / 8 * 1;
            endAngle1 = (2 * Math.PI) / 8 * 5;
            startAngle2 = (2 * Math.PI) / 8 * 3;
            endAngle2 = (2 * Math.PI) / 8 * 7;
        } else if (pacMan.speedX < 0) {
            startAngle1 = (2 * Math.PI) / 8 * 5;
            endAngle1 = (2 * Math.PI) / 8 * 1;
            startAngle2 = (2 * Math.PI) / 8 * 3;
            endAngle2 = (2 * Math.PI) / 8 * 7;
        }

        if (pacMan.speedY > 0) {
            startAngle1 = (2 * Math.PI) / 8 * 5;
            endAngle1 = (2 * Math.PI) / 8 * 1;
            startAngle2 = (2 * Math.PI) / 8 * 7;
            endAngle2 = (2 * Math.PI) / 8 * 3;
        } else if (pacMan.speedY < 0) {
            startAngle1 = (2 * Math.PI) / 8 * 5;
            endAngle1 = (2 * Math.PI) / 8 * 1;
            startAngle2 = (2 * Math.PI) / 8 * 3;
            endAngle2 = (2 * Math.PI) / 8 * 7;
        }
    }

    context.fillStyle='#efeef0';

    context.arc(0, 0, pacMan.radius * 2, startAngle1, endAngle1, pacMan.speedY < 0, pacMan.speedY < 0);
    context.fill();
    context.beginPath();
    context.arc(0, 0, pacMan.radius * 2, startAngle2, endAngle2, pacMan.speedY > 0 || pacMan.speedX < 0 || pacMan.speedY < 0);
    context.fill();

    console.log(Math.round(currentLevelTime/100));
    context.restore();